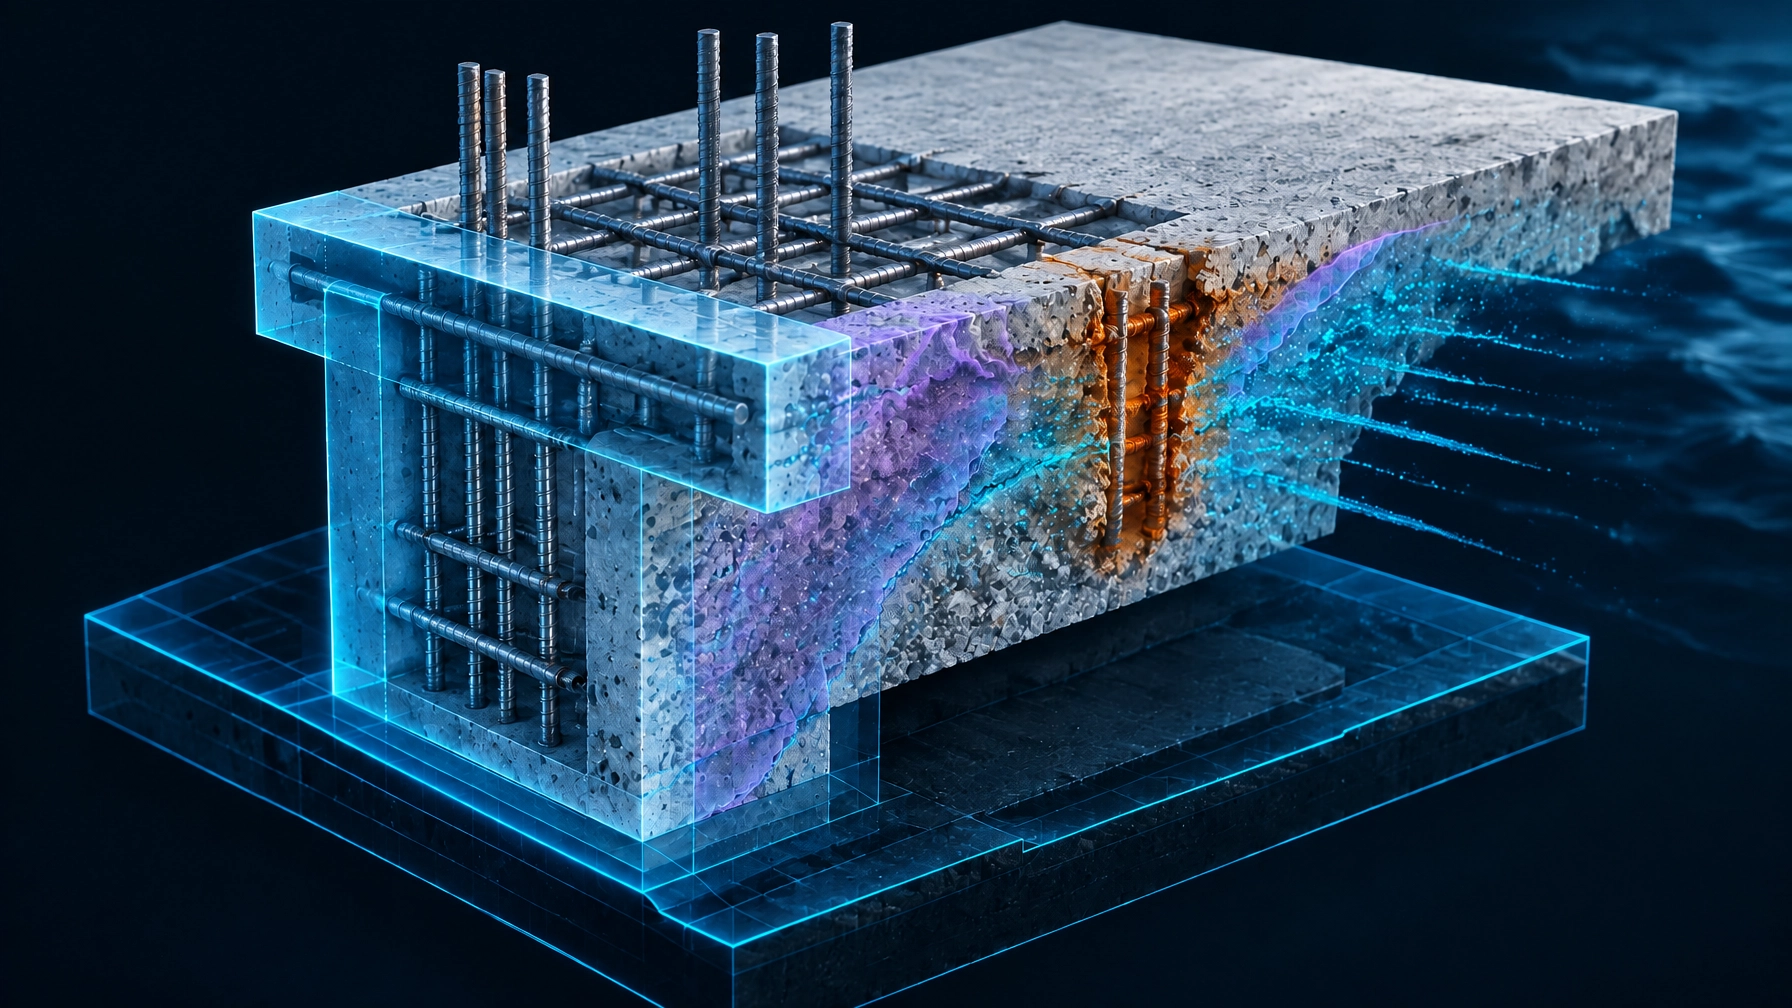
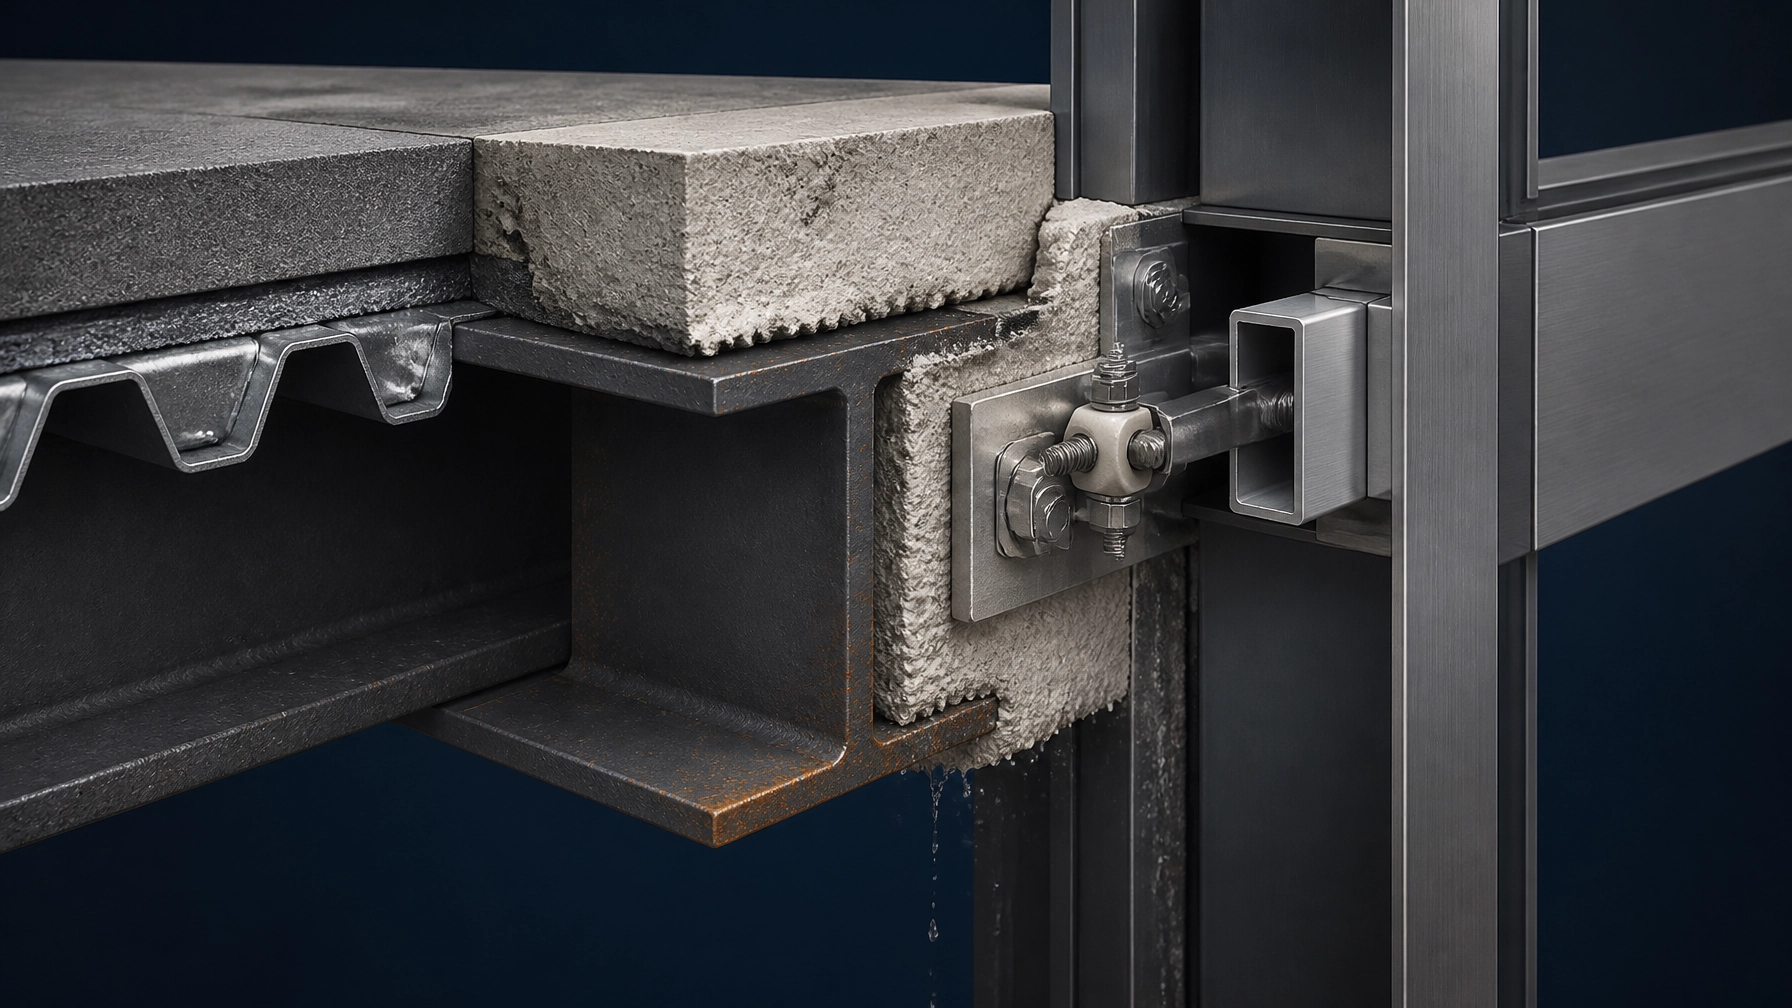
In the Australian construction industry, waterproofing is often the smallest line item on a budget but the largest contributor to post-completion litigation. Statistics from across the country consistently show that waterproofing defects account for nearly a quarter of all residential building disputes. While a membrane might cover 98% of a surface perfectly, it is the remaining 2%: the junctions, penetrations, and terminations: where the system inevitably fails.
At Shoal Bay Projects, we view waterproofing not as a "paint-on" task, but as a structural engineering challenge. Understanding the "why" behind failure requires a forensic look at how materials interact under stress, moisture, and movement. Whether you are a builder aiming for zero defects or a homeowner protecting your largest asset, the roadmap to success is found in the rigorous application of AS 3740 (Internal) and AS 4654 (External).
The Anatomy of a Junction: Why the Edge is the Risk
Waterproofing fails at the junction because that is where movement occurs. Buildings are dynamic structures; they settle, expand, and contract. A junction is where two different planes (like a wall and a floor) or two different materials (like a concrete slab and a PVC pipe) meet.
If a waterproofing membrane is applied "hard" into a 90-degree corner without a bond breaker, the inevitable structural movement will stretch the membrane beyond its elastic limit. The result is a microscopic tear. In a shower or on a balcony, a microscopic tear is an open door for capillary action, eventually rotting structural timbers or causing concrete cancer in slabs.

Internal Mastery: Navigating AS 3740
Internal wet areas: bathrooms, laundries, and ensuites: are governed by AS 3740: Waterproofing of domestic wet areas. The 2021 update to this standard tightened the requirements significantly, focusing on the integration of the system rather than just the membrane itself.
1. The Puddle Flange and the Floor Waste
The connection between the floor waste and the membrane is the most common failure point in Australian bathrooms.
- Advisory Note: Specify a puddle flange (leak control flange) for every floor waste. The membrane must be positively bonded to the flange, not just terminated near it. This ensures that any water that tracks under the tiles: a common occurrence via grout lines: is directed safely into the drainage system.
2. Bond Breakers and Movement Joints
A bond breaker is a bridge. It allows the membrane to "bridge" the gap between a wall and a floor, stretching over a wider area rather than snapping at a single point of stress.
- Check: Ensure a minimum 12mm x 12mm bond breaker (or compliant tape system) is installed at all internal corners and floor-wall junctions before the membrane is applied.
3. Shower Heights and Water Stops
A shower is a high-velocity wet zone.
- Specify: Water stop angles must be installed at the shower entrance and the bathroom door. The membrane must wrap over and up these angles to create a "tanked" environment. In modern custom builds, we recommend extending wall waterproofing to at least 1800mm or full ceiling height to mitigate the risk of moisture ingress from high-pressure showerheads.
External Resilience: The AS 4654 Mandate
External waterproofing is a different beast. Unlike internal areas, external balconies and roofs are subjected to UV radiation, extreme temperature fluctuations, and structural shear. AS 4654.2 sets the standard for design and installation.
1. The 1:100 Fall Rule
Ponding water is the enemy of any membrane.
- Document: AS 4654 now enforces a minimum 1:100 fall to all drainage outlets. As an advisory firm, we suggest these falls be built into the structural slab or screed before the membrane is applied. "Building up" falls with tile adhesive is not a compliant solution and leads to premature membrane degradation.
2. Threshold Integration
Water often enters the building through the door track of a balcony.
- Detail: The membrane must not stop at the face of the sliding door frame. It must be carried under the sill, up the back of the track, and integrated with the internal floor system. This creates a continuous barrier that prevents water from tracking under the door during wind-driven rain.
3. Fillets and Termination
External junctions require larger coves or "fillets" than internal areas to accommodate higher levels of movement.
- Check: For liquid membranes, a 15mm x 15mm fillet is the minimum. For sheet membranes, a 40mm x 40mm fillet is often required. Ensure all membrane edges are mechanically terminated with a flashing or pressure seal to prevent "peeling" over time.
The 4 Horsemen of Waterproofing Failure
In our forensic investigations, we see the same four systemic issues recurring across Australian residential projects:
- Incompatible Substrates: Applying a membrane to wet timber, dusty concrete, or non-moisture-stable boards (like standard particleboard) will lead to de-lamination.
- Insufficient Dry Film Thickness (DFT): Waterproofing is not paint. It must be applied at the manufacturer’s specified thickness to remain elastic. If you can see the substrate through the membrane, it is too thin.
- Missing Bond Breakers: As discussed, skipping the bond-breaker tape or sealant is the fastest way to crack a membrane at a junction.
- Cure Time Negligence: Tiling over a membrane that hasn't fully cured traps moisture, which can cause the membrane to re-emulsify or fail to bond to the tile adhesive.
Advisory Action Plan: How to Ensure Compliance
To mitigate risk, builders and homeowners should adopt a "Stop and Check" approach at critical stages of the build.
- Audit the Substrate: Before the waterproofer arrives, check that the floors are clean, dry, and fixed securely. Ensure all floor wastes have puddle flanges installed flush with the substrate.
- Verify the Materials: Ensure the membrane used matches the application. An internal-grade membrane (AS/NZS 4858) will fail quickly if used on an external balcony exposed to UV (AS 4654.1).
- Inspect the Junctions: Once the first coat and bond breakers are in, inspect every corner, pipe penetration, and threshold. Look for pinholes or areas of thin coverage.
- Demand Documentation: Do not accept a generic "waterproofing certificate." Request a detailed report that specifies the products used, the number of coats applied, and confirmation that falls were checked and bond breakers were installed.
Strategic Consultation for Your Project
Waterproofing is a high-risk trade that requires a high-detail approach. At Shoal Bay Projects, we specialize in helping builders and homeowners navigate these complexities before they become expensive defects. Whether it’s reviewing architectural details for a new custom build or conducting a forensic audit of a suspected failure, our focus is on compliance-led risk management.
Welcome to the Hive Vanguard
If you are looking for deeper technical insights, project support, or a community of professionals dedicated to construction excellence, we invite you to explore The Hive Vanguard. This is our central hub for resources, training, and strategic advisory.
Watch the Welcome to the Hive video to learn more about how we support the industry and how you can access "The Vault": our exclusive repository of technical guidance and compliance tools.
Conclusion: Compliance is Risk Management
In the race to meet Australia’s housing targets, we cannot afford to compromise on the invisible layers of our buildings. A failed waterproofing junction is more than just a leak; it is a systemic risk to the building's structural integrity and the occupants' health. By adhering to the junction detailing required by AS 3740 and AS 4654, we aren't just meeting a standard; we are building for longevity.
Check your junctions. Specify the right standards. Protect your project.