Construction
Nov 8, 2026
The Instrumented Slab: Why Floor Finish Failures Are Decided by Concrete Moisture You Never Measured
The Instrumented Slab: Why Floor Finish Failures Are Decided by Concrete Moisture You Never Measured

The Instrumented Slab: Why Floor Finish Failures Are Decided by Concrete Moisture You Never Measured
A floor can look ready for installation and still be carrying a moisture condition that will compromise the finish.
The concrete appears dry. The surface is clean. The programme is under pressure. A visual inspection finds no obvious defect, so flooring proceeds. Weeks or months later, adhesive softens, boards curl, resilient flooring blisters, or a coating loses bond. The dispute then turns on a familiar question: Who was responsible for proving the slab was ready?
The uncomfortable answer is that appearance cannot establish the moisture condition inside a concrete slab. A dry-looking surface is not evidence of a dry slab profile. When a low-permeance finish is installed, moisture that was distributed deeper in the concrete may move toward the surface and become concentrated at the flooring interface.
That distinction is often lost between construction teams. The flooring contractor may be judged on visible workmanship and finish quality. The builder or project team may rely on a test report. The designer or specification may set an acceptance limit. An oversight body may later assess the delivered work against contractual or regulatory requirements. If those roles and decision points were not defined before installation, a technical issue can escalate into a costly disagreement about responsibility, evidence and remedy.
For a residential building consultant or construction consultant, the central risk is not simply “wet concrete.” It is a gap between what was measured, what the measurement can demonstrate, and what the selected flooring system requires.
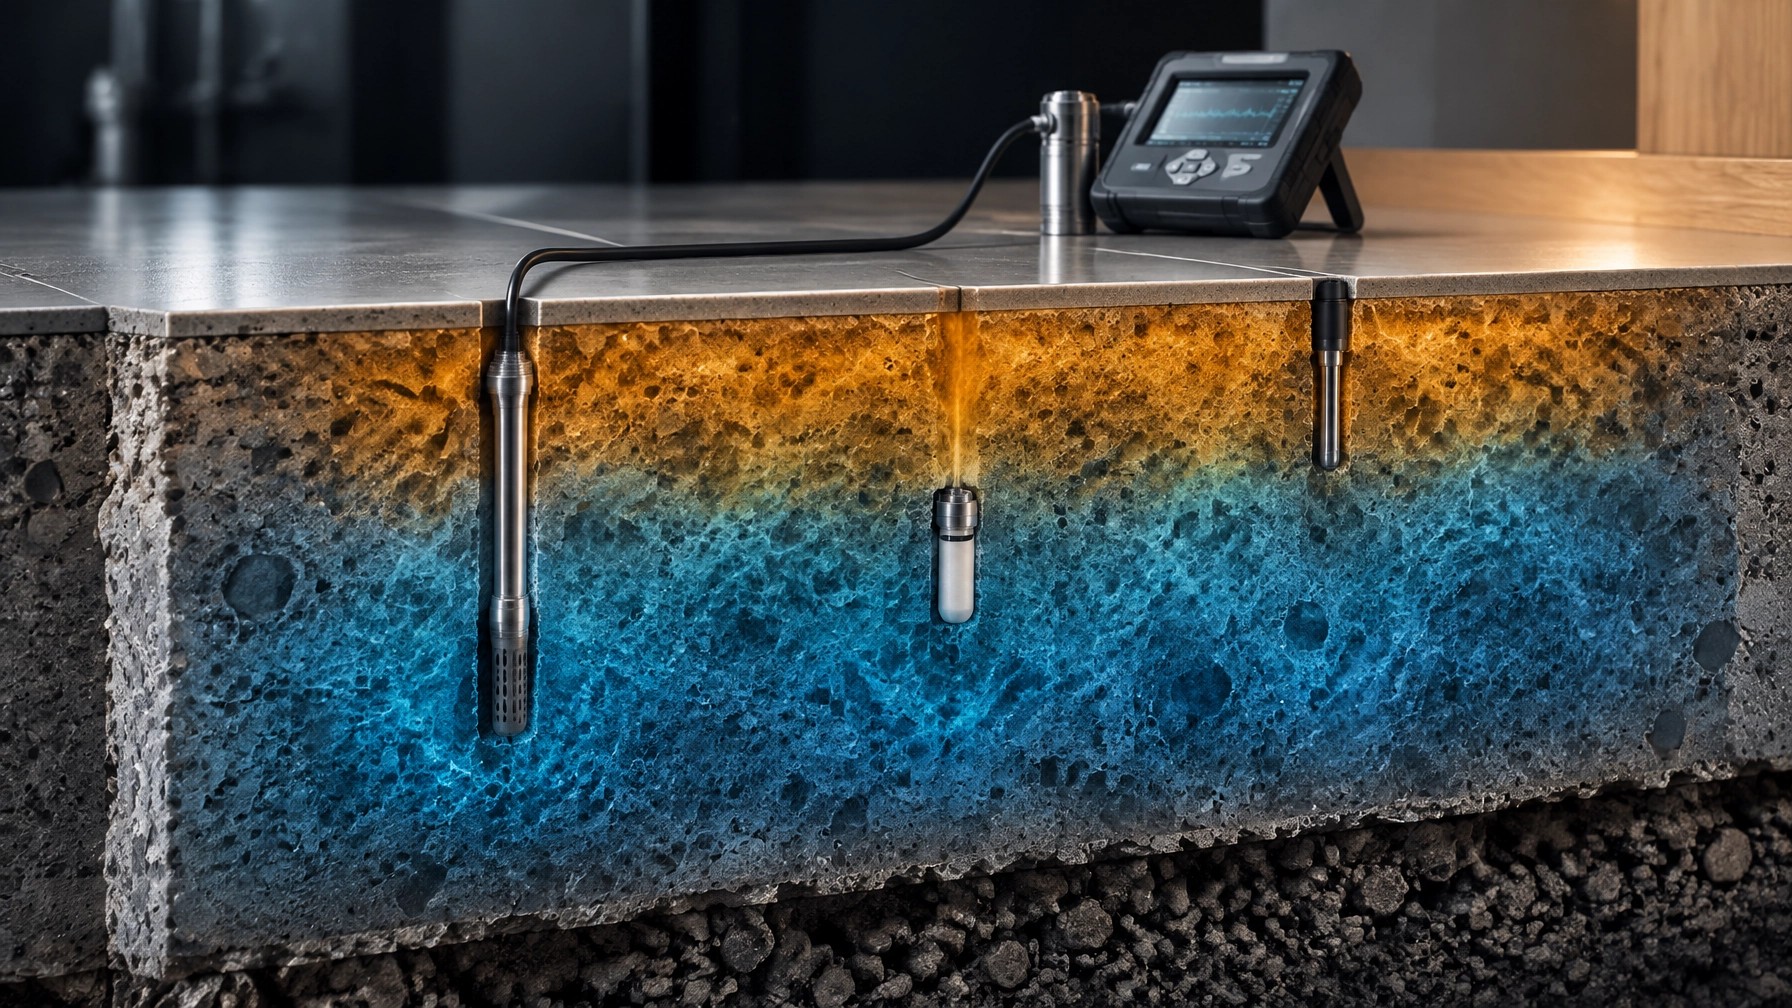
Concrete contains moisture that changes over time and varies across a slab. Drying conditions, slab thickness, exposure, building temperature and humidity, and moisture sources below or beside the slab all influence that condition.
A surface reading captures only a limited view. It does not automatically reveal the relative humidity deeper in the slab or predict how moisture may redistribute after the floor is covered. The test method, test location, timing and site conditions therefore matter as much as the number recorded.
Two commonly specified methods measure different things:
These methods are not interchangeable certifications of “dryness.” Nor does a single passing result guarantee that every component in a flooring assembly will perform.
Assess the full assembly: concrete, preparation, primer, patching or levelling compounds, adhesive, and finish. Moisture exposure may interact with surface alkalinity, contamination, weak or dusty concrete, cracks, joints, curling, or product incompatibility.
A flooring contractor can deliver a visually uniform finish while latent moisture conditions remain unverified. Conversely, a moisture concern does not by itself prove poor workmanship. Separate the evidence:
This is where audit engagement models can either reduce or compound risk. A narrow, post-installation defect inspection may document symptoms without establishing the pre-installation condition. A milestone audit that reviews testing records before the floor is covered can identify gaps while evidence is still accessible. An independent review can also clarify whether the test method and acceptance criteria were suitable for the actual assembly.
The objective is not to add inspection for its own sake. It is to define evidence and decision responsibility before concealment. That is a core function of construction risk management services: turn a potential argument into a documented technical decision.
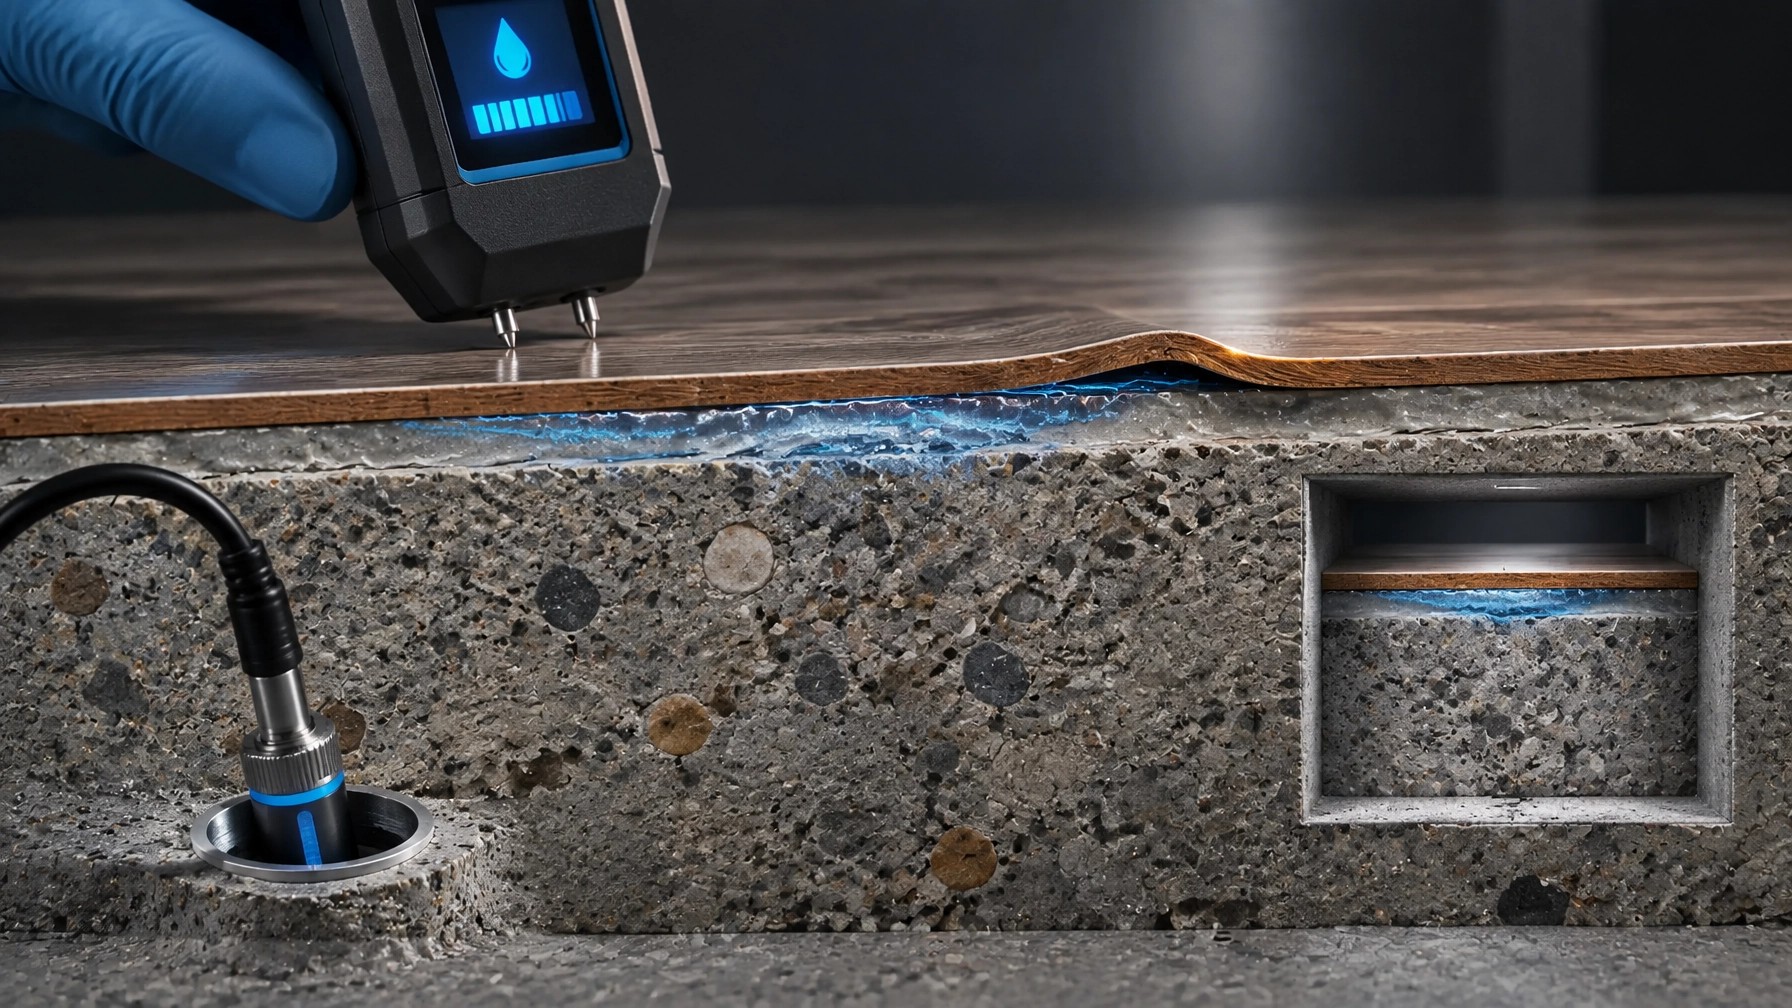
Use the standards as distinct tools within a project-specific acceptance framework:
Do not treat these references as universal pass/fail thresholds. ASTM test methods describe how to measure; they do not establish one acceptable moisture value for every flooring material, adhesive, or project condition. The selected product manufacturer’s current technical requirements and the project specification must define the applicable limits.
The records should also distinguish measurement from acceptance. A test report may establish a result at a particular place and time. It does not, by itself, establish that the full slab was ready, that the chosen system was compatible, or that the slab could not later be exposed to moisture.

Stop before the finish conceals the concrete. Compare the results with the agreed criteria and have the designated decision-maker document acceptance, rejection, or further investigation. If a result is outside the product limit, or if the method, depth, conditions or records are inadequate, do not proceed on assumption. Confirm whether additional testing, drying, a compatible mitigation system or a revised specification is required.
Preserve evidence before removing the finish. Map the defects and compare them with moisture-test locations and project records. Verify the test method, depth, timing, coverage and environmental conditions. Review product data, surface preparation and installation records. Investigate possible later moisture exposure and other mechanisms, including contamination, alkalinity, bond failure and movement.
Avoid attributing cause from appearance alone. A forensic review should connect the observed failure to a supported mechanism and identify which decision or control failed. That is the role of building consultancy services that bridge site execution and oversight: clarify evidence, responsibility and corrective options before a floor defect becomes a legal or financial dispute.
For homeowners planning a major refurbishment, a home renovation consultant can help establish these checks before finish selection and installation are locked into the programme. For builders, an independent review at the right hold point can protect both quality expectations and the evidential record.
Watch more construction intelligence on the Shoal Bay Projects Hive YouTube channel.
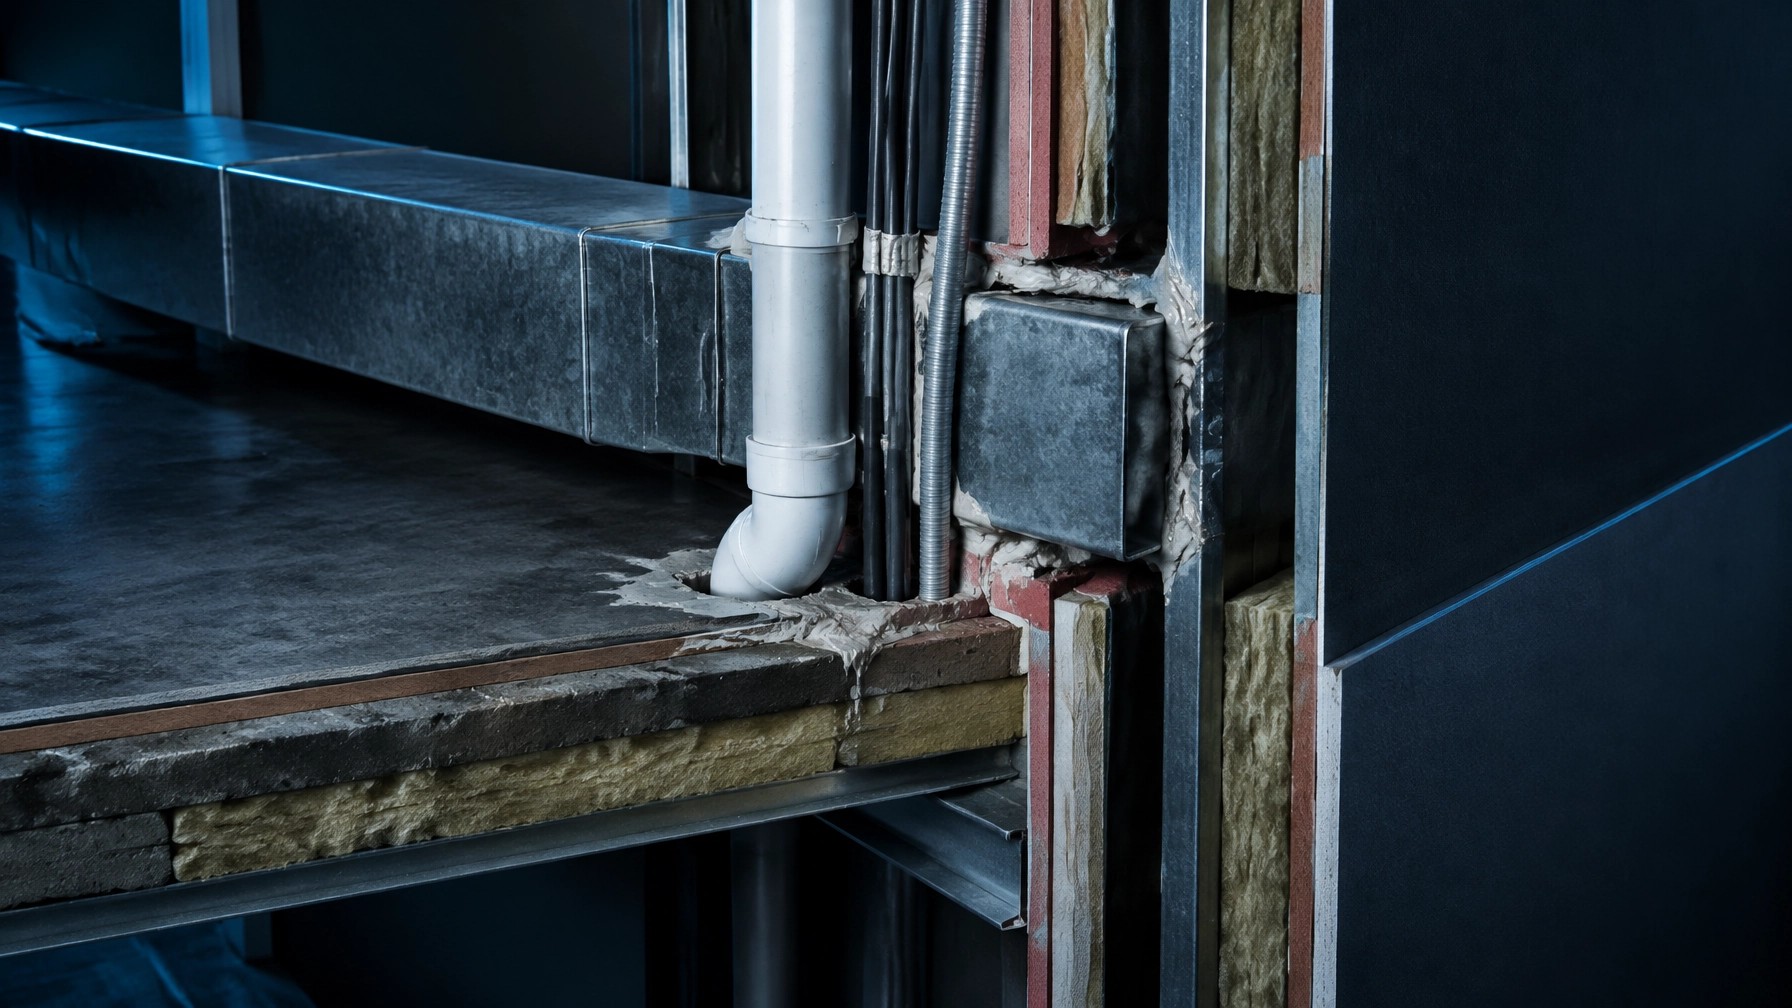
⚠️ The image in this post is used for illustration purposes only, designed to encourage thoughtful discussion. It is not intended to represent a prescriptive detail of any installation or construction method.
Claim Your Foundation Membership
The Vault. The App. The Community. We're opening the doors to a select group of Foundation Members. Free, for a limited time. Foundation Membership includes full access to The Vault (our forensic intelligence archive) and early access to the Hive app.
Once the charter window closes, this tier is gone permanently. Foundation Members retain access for life. This is not a trial: it's a permanent invitation to the founding cohort.
Claim Your Foundation Membership →
Concrete can look ready for flooring long before its moisture condition has been properly established. This article looks at what the tests do, and don’t, tell you, and how to protect the decision before the slab is concealed.
The Instrumented Slab: Why Floor Finish Failures Are Decided by Concrete Moisture You Never Measured
Publication home: The Hive
Image assets: Four original 3D forensic illustrations are included in the article: slab moisture profiling (https://cdn.marblism.com/OVoJZoCAKXR.jpeg), moisture migration to the adhesive interface (https://cdn.prod.website-files.com/6a0c278cc2a032010f1c4626/6ae8512cbd767c6e09ab16ca_tqjDF515UvG.jpeg), localized finish-interface distress (https://cdn.prod.website-files.com/6a0c278cc2a032010f1c4626/6ae8512cbd767c6e09ab16c6_aVtA9IaVS6q.jpeg), and distributed testing evidence (https://cdn.prod.website-files.com/6a0c278cc2a032010f1c4626/6ae8512bbd767c6e09ab16c2_KVinMGNzLdT.jpeg).