Construction
Jul 2, 2026
10 Reasons Your Condensation Management Plan Isn't Working (And How to Fix It)
10 Reasons Your Condensation Management Plan Isn't Working (And How to Fix It)

10 Reasons Your Condensation Management Plan Isn't Working (And How to Fix It)
Condensation isn't just a "nuisance" anymore. In the modern Australian construction landscape: especially with the tightening of the National Construction Code (NCC) 2022 and 2025: it has become a primary risk factor for structural integrity and occupant health. If you are building or renovating a high-end residential project, you likely have a Condensation Management Plan (CMP). But having a plan on paper and having a system that actually works are two very different things.
At Shoal Bay Projects, we often see CMPs that look great in a Revit model but fail the moment the first cold snap hits. Whether it’s a mismatch in material specifications or a failure to account for site-specific climate zones, the results are the same: mould growth, "sick building syndrome," and costly rectification works.
Here are 10 common reasons your condensation management plan is failing, and the technical steps you need to take to fix it.
The NCC is very specific about vapour permeance based on where you are building. Under AS 4200.1, membranes are classified from Class 1 (Vapour Barrier) to Class 4 (High Vapour Permeance).
A common mistake is specifying a Class 1 or 2 "vapour barrier" on the outside of a building in a cold climate (Zones 6, 7, or 8). This traps internal moisture inside the wall cavity, where it hits the cold backside of the sarking and turns into liquid water.
The Fix: Check your climate zone. In Climate Zones 4 and 5, you generally need at least a Class 3 membrane. In colder regions (Zones 6–8), you must specify a Class 4 vapour-permeable membrane to allow the structure to "breathe" outward.
Even with the right material, putting it in the wrong spot creates a "vapour sandwich." Per NCC F8D3, the pliable building membrane must be located on the exterior side of the primary insulation layer.
If you place a vapour-impermeable layer on both the inside (like a polyethylene sheet) and the outside (foil-faced sarking) without a ventilated cavity, you trap construction moisture and seasonal humidity within the frame.
The Fix: Ensure the "breathable" layer is always on the cold side of the insulation. Detail your wall sections to show the sequence: Internal Lining -> Vapour Control Layer (if required) -> Insulation -> Vapour Permeable Membrane -> Drained Cavity -> Cladding.
Gone are the days when a bathroom fan could simply "vent into the roof." The NCC 2022 requirements are explicit: all exhaust fans must be ducted to the outside air. Discharging warm, moist air from a shower or laundry into a cold roof space is a guaranteed way to cause "attic rain": where moisture condenses on the underside of roof sheets and drips back onto the ceiling insulation.
The Fix: Specify rigid or semi-rigid ducting that leads directly to a roof cowl or wall vent. Ensure the ducting is insulated if it runs through an unconditioned space to prevent condensation inside the pipe.
In high-performance builds, simply "wrapping" the house isn't enough. If the cladding is fixed directly against the membrane, moisture can be held against the frame via capillary action. Without air movement, that moisture has nowhere to go.
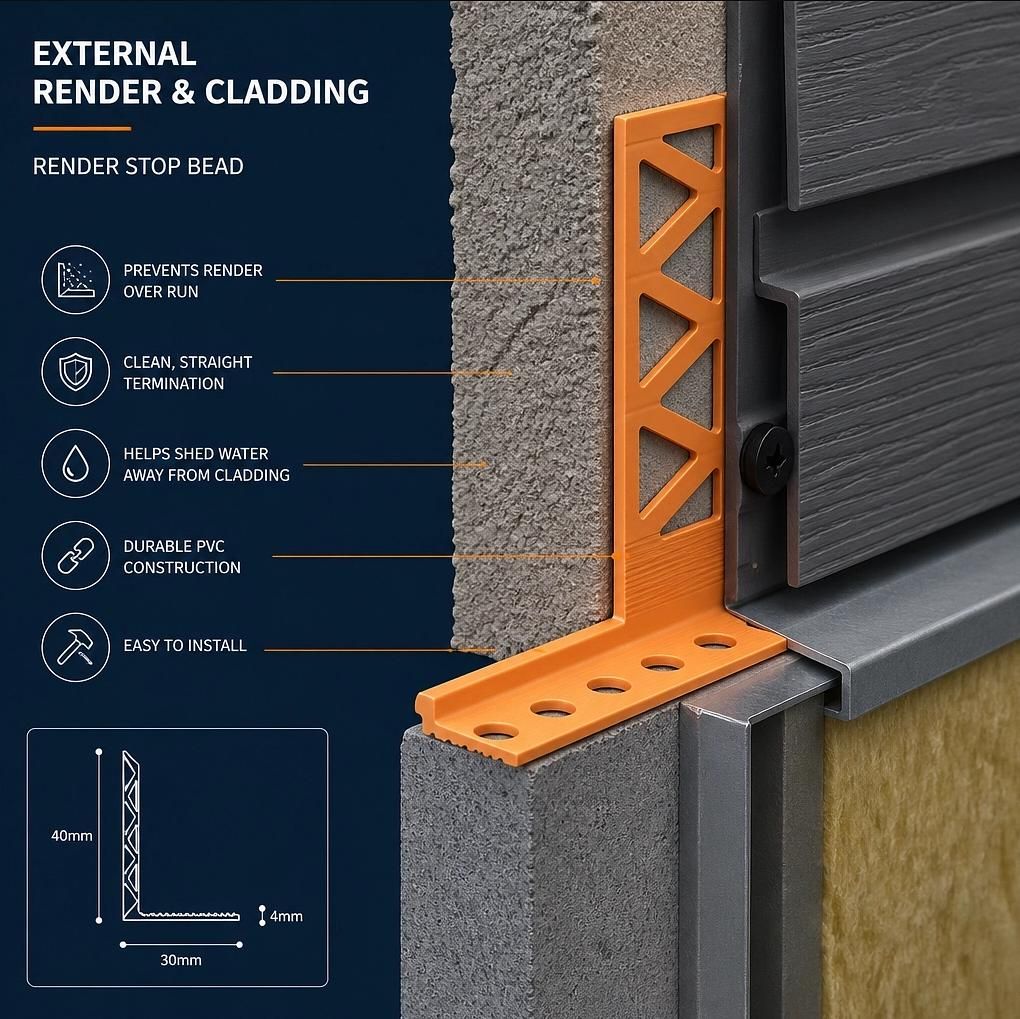
The Fix: Implement a ventilated batten system. Use vertical battens (and horizontal counter-battens if needed) to create a minimum 20mm air gap between the sarking and the cladding. This allows for both drainage of liquid water and evaporation of vapour.
If you are building in Climate Zones 6, 7, or 8, the NCC now mandates roof space ventilation. Relying on "natural leakage" is no longer a compliant strategy. Without dedicated intake and exhaust points, the roof cavity becomes a stagnant moisture trap.
The Fix: Install eave vents (intake) and ridge vents or solar-powered ventilators (exhaust). Ensure the total open area of ventilation meets the ratios defined in NCC Housing Provisions Part 10.8.
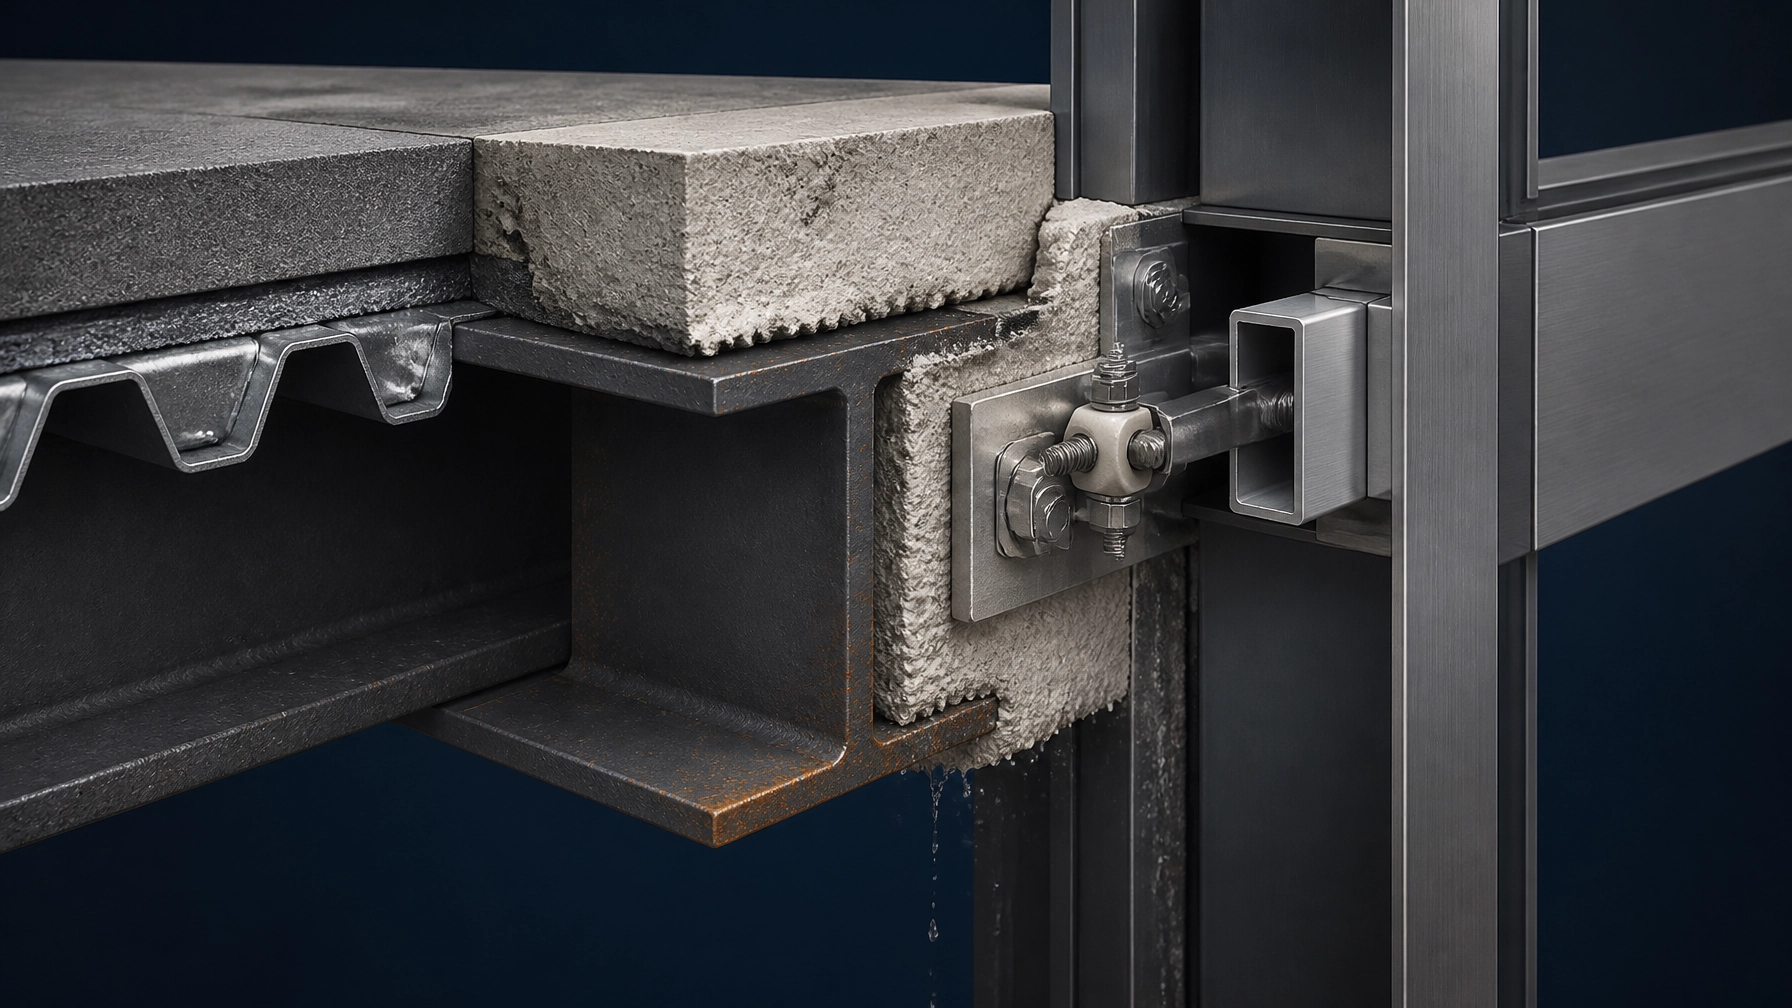
You can have the best membrane in the world, but if you have a steel beam or a large aluminium window frame cutting through your insulation layer, you have a "cold bridge." Moisture will condense on these cold surfaces regardless of how "breathable" your walls are.
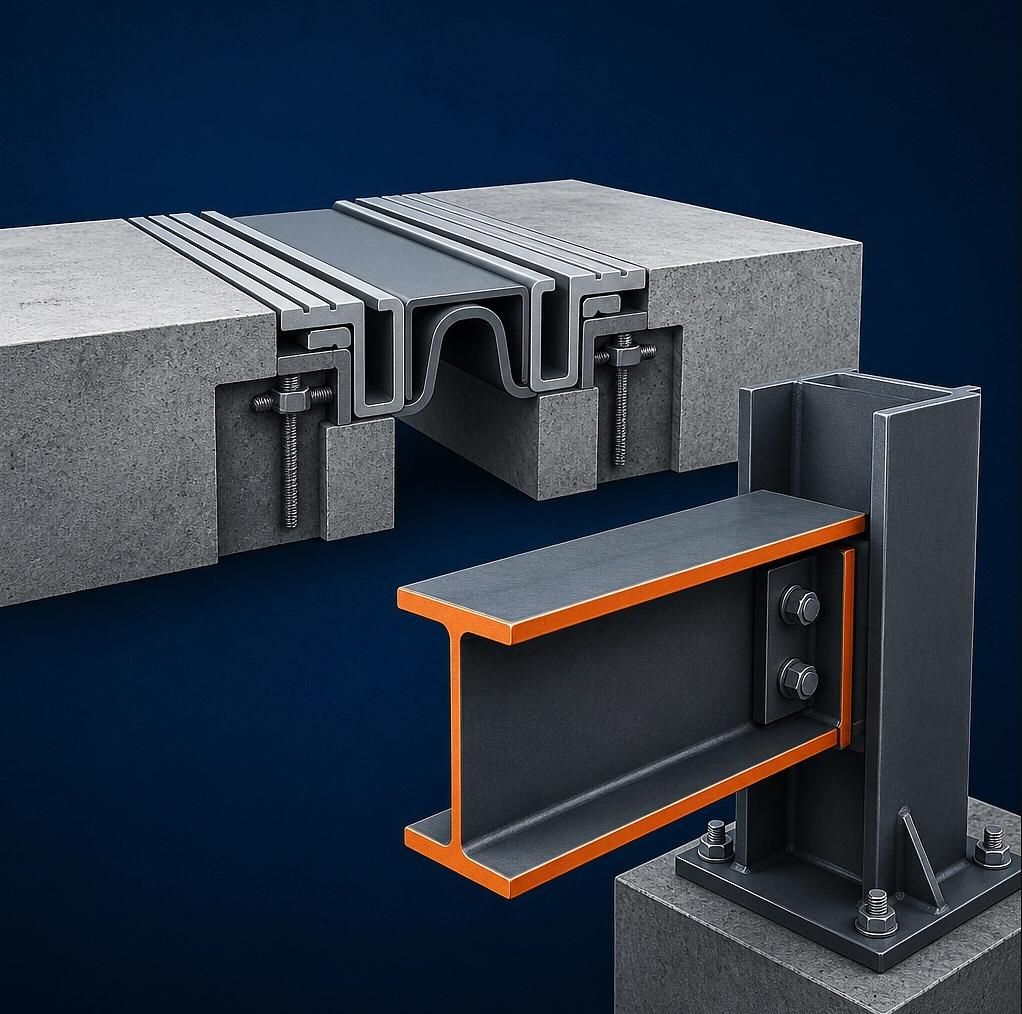
The Fix: Specify thermal breaks. For steel-framed buildings, use a minimum R0.2 thermal break between the frame and the cladding. For windows, always opt for thermally broken aluminium or uPVC frames to keep the internal surface temperature above the dew point.
Air leakage is often a bigger driver of moisture than vapour diffusion. Warm air from the living space carries a massive amount of water vapour. If your downlights, GPOs, or plumbing stacks aren't sealed, that air is pushed into the wall and roof cavities by stack effect.
The Fix: Use air-tightness tapes and grommets at all penetrations. Switch to "IC-4" rated downlights that can be covered with insulation, reducing the number of holes in your ceiling’s air barrier.
Condensation management isn't just about vapour; it's about preventing liquid water from compromising the system. If your sarking isn't correctly integrated with your gutters and flashings, "external" water becomes an "internal" condensation problem.

The Fix: Follow AS 4200.2 for installation. Ensure sarking is lapped correctly (minimum 150mm for roofs) and discharges directly into the gutter. Check that your valley and barge flashings don't allow "blow-back" into the roof cavity.
When you install high-powered rangehoods or exhaust fans without providing a path for "make-up air," you create negative pressure. This pressure forces air to be sucked in from the outside through every crack, joint, and wall cavity, often bringing humid air into contact with cooled internal surfaces.
The Fix: Design for balanced ventilation. Specify door undercuts (min 14,000 mm²) or dedicated air inlet vents to ensure your exhaust fans can work effectively without depressurising the home.
In masonry veneer construction, the cavity is your first line of defence. If the cavity is bridged with mortar droppings or if weep holes are blocked/omitted, moisture is trapped against the timber or steel frame.
The Fix: Document clear cavity cleaning requirements. Ensure weep holes are placed at the base of every wall, above every lintel, and at every articulation joint. Verify that the cavity is clear of debris during your frame and brickwork inspections.
A successful Condensation Management Plan requires a holistic approach that balances insulation, air-tightness, vapour permeance, and mechanical ventilation. It is a "system," not a single product.
Check your specs, specify the correct AS 4200.1 class for your climate, and ensure that site execution matches the design intent. If you're unsure about a specific detail, it's always cheaper to fix it on the drawing board than to remediate it after the keys have been handed over.
Building compliance is a moving target, especially with the NCC 2022 and 2025 updates. If you want to dive deeper into technical details, master residential project support, or connect with other industry professionals navigating these changes, we invite you to explore our community hub.
Join us at Shoal Bay Projects as we work to raise the standard of Australian residential construction.
Contact Shoal Bay Projects on +61 8 6149 7396.